Planning the threads

One of the most challenging parts of free motion quilting is to figure out how and where you will stitch. I use a simple technique that helps me visualize different patterns before I commit to them with thread and sore shoulders.

Pundit_acetate.jpg

Using a piece of acetate to experiment with line

Using a large piece of acetate and a dry erase marker I sketch my ideas onto the acetate directly over the quilt. If I don't like the first pattern I can simply wipe it dry and start again. The lines are fairly thick because I have yet to find a dry erase marker with a fine point (note to Sharpie...please develop this for me). Drawing the lines gives my hands and brain a trial run for the real deal.

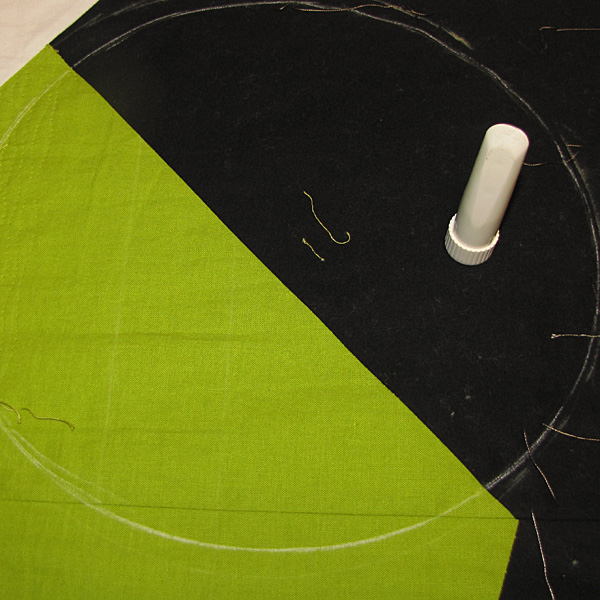
Once I have decided what I want to do I mark a boundary for the pattern on the quilt with a chalk marker. My favorite of these is the one pictured here, it has a roller at the tip that makes a thin dotted line with chalk. You can get white, blue, yellow and pink chalk. I tend to stay with the white stuff. I'll often hang the acetate near my machine so that I can see it while stitching. I'll do this stitching in the morning when I am fresher.

Pundit_sircle.jpg

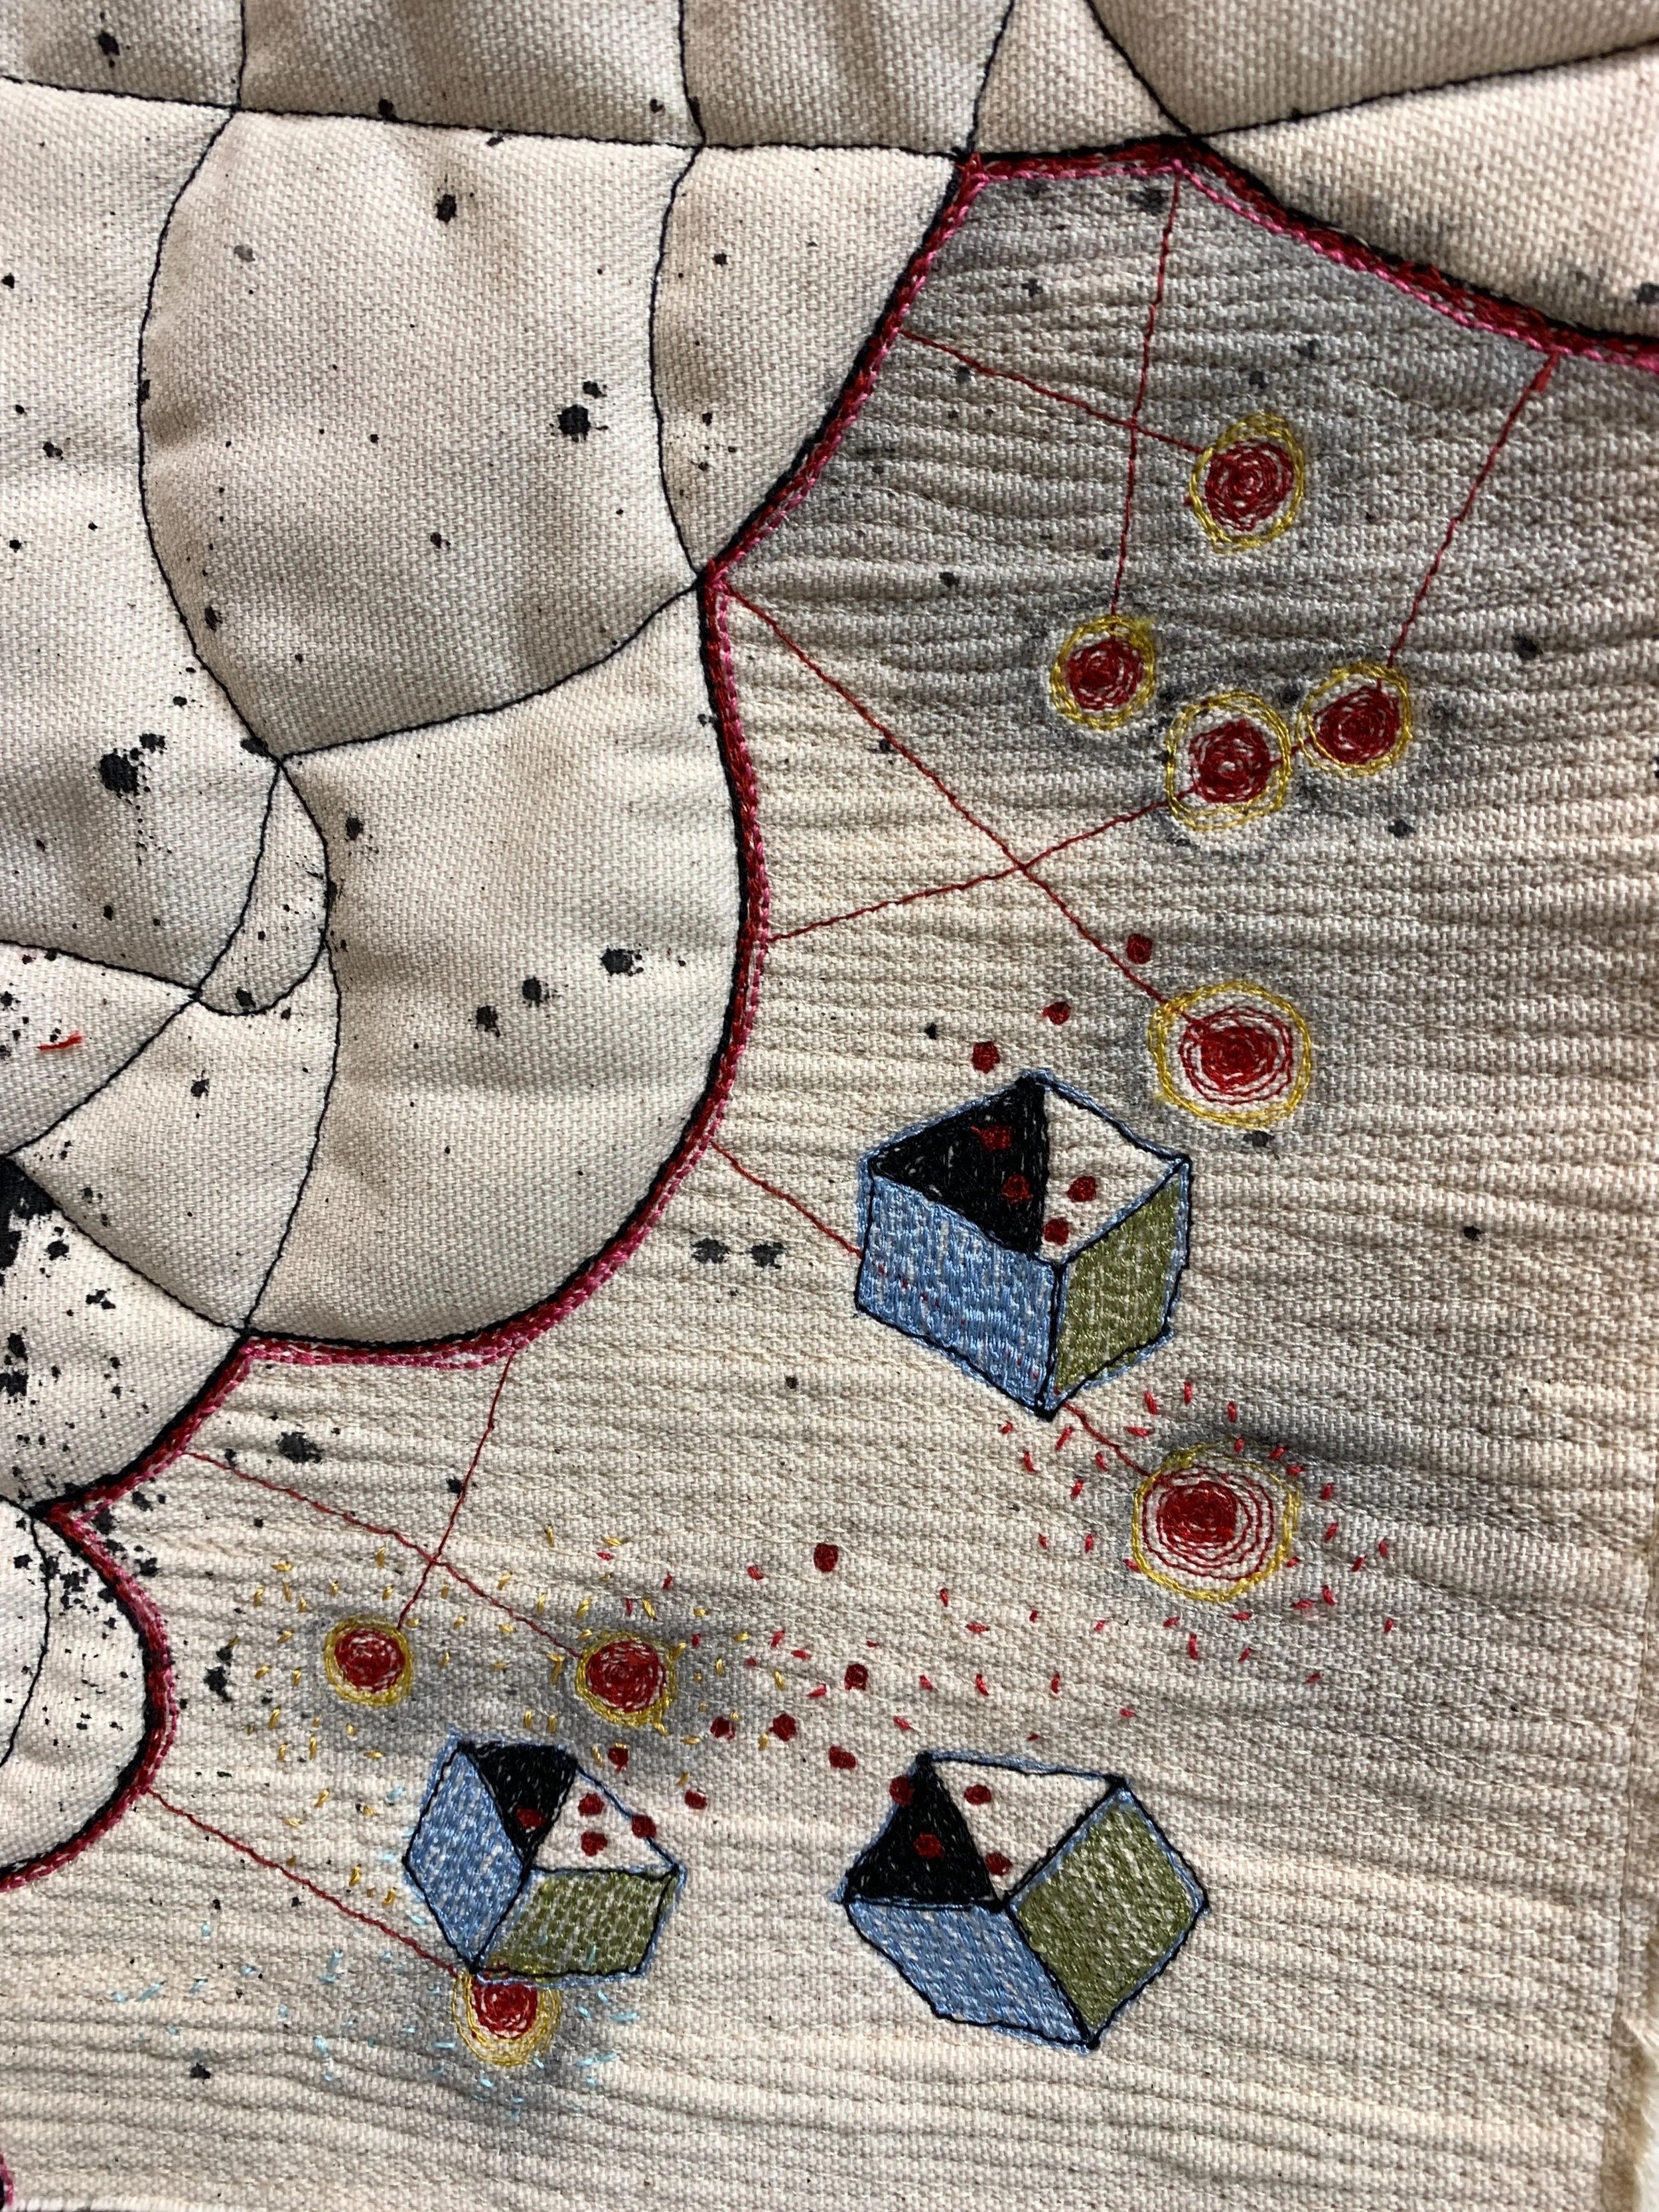
Outer boundary of stitch pattern marked with chalkOnce I am done with the stitching I am sometimes left with loose ends that need to be buried. I do this after dinner in front of the TV, tweezer and easy-threading needle in hand. This pic shows a different area of the piece where I decided to stop the background pattern where the black circles define a thought bubble.

Pundit_threads.jpg

Loose threads will need to by buried in the quilt sandwich later

color experiments

Since the free-motion fairy is not with me today I decided to play with some color. Based loosely on the Pundit quilt colors of lime green, black and white I experimented with other highlight colors to create a different mood. Here are the half-square triangles in pre-trim mode. A lovely prayer-flag composition... I didn't really want to cut them apart.

half-square triangles in chained piecing mode

half-square triangles in chained piecing mode

Cutting them apart and ironing them flat yielded another viewpoint:

halsquares_piled.jpg

hal-square triangles pieced and rough trimmed

And now the experiment can begin:

halfsquares_designwall.jpg

half-square triangles on the design wall

I think I will add more white in the next batch. I like the hard black accents and I want to find another tint of that bright green.

Grrrrr

thread nests

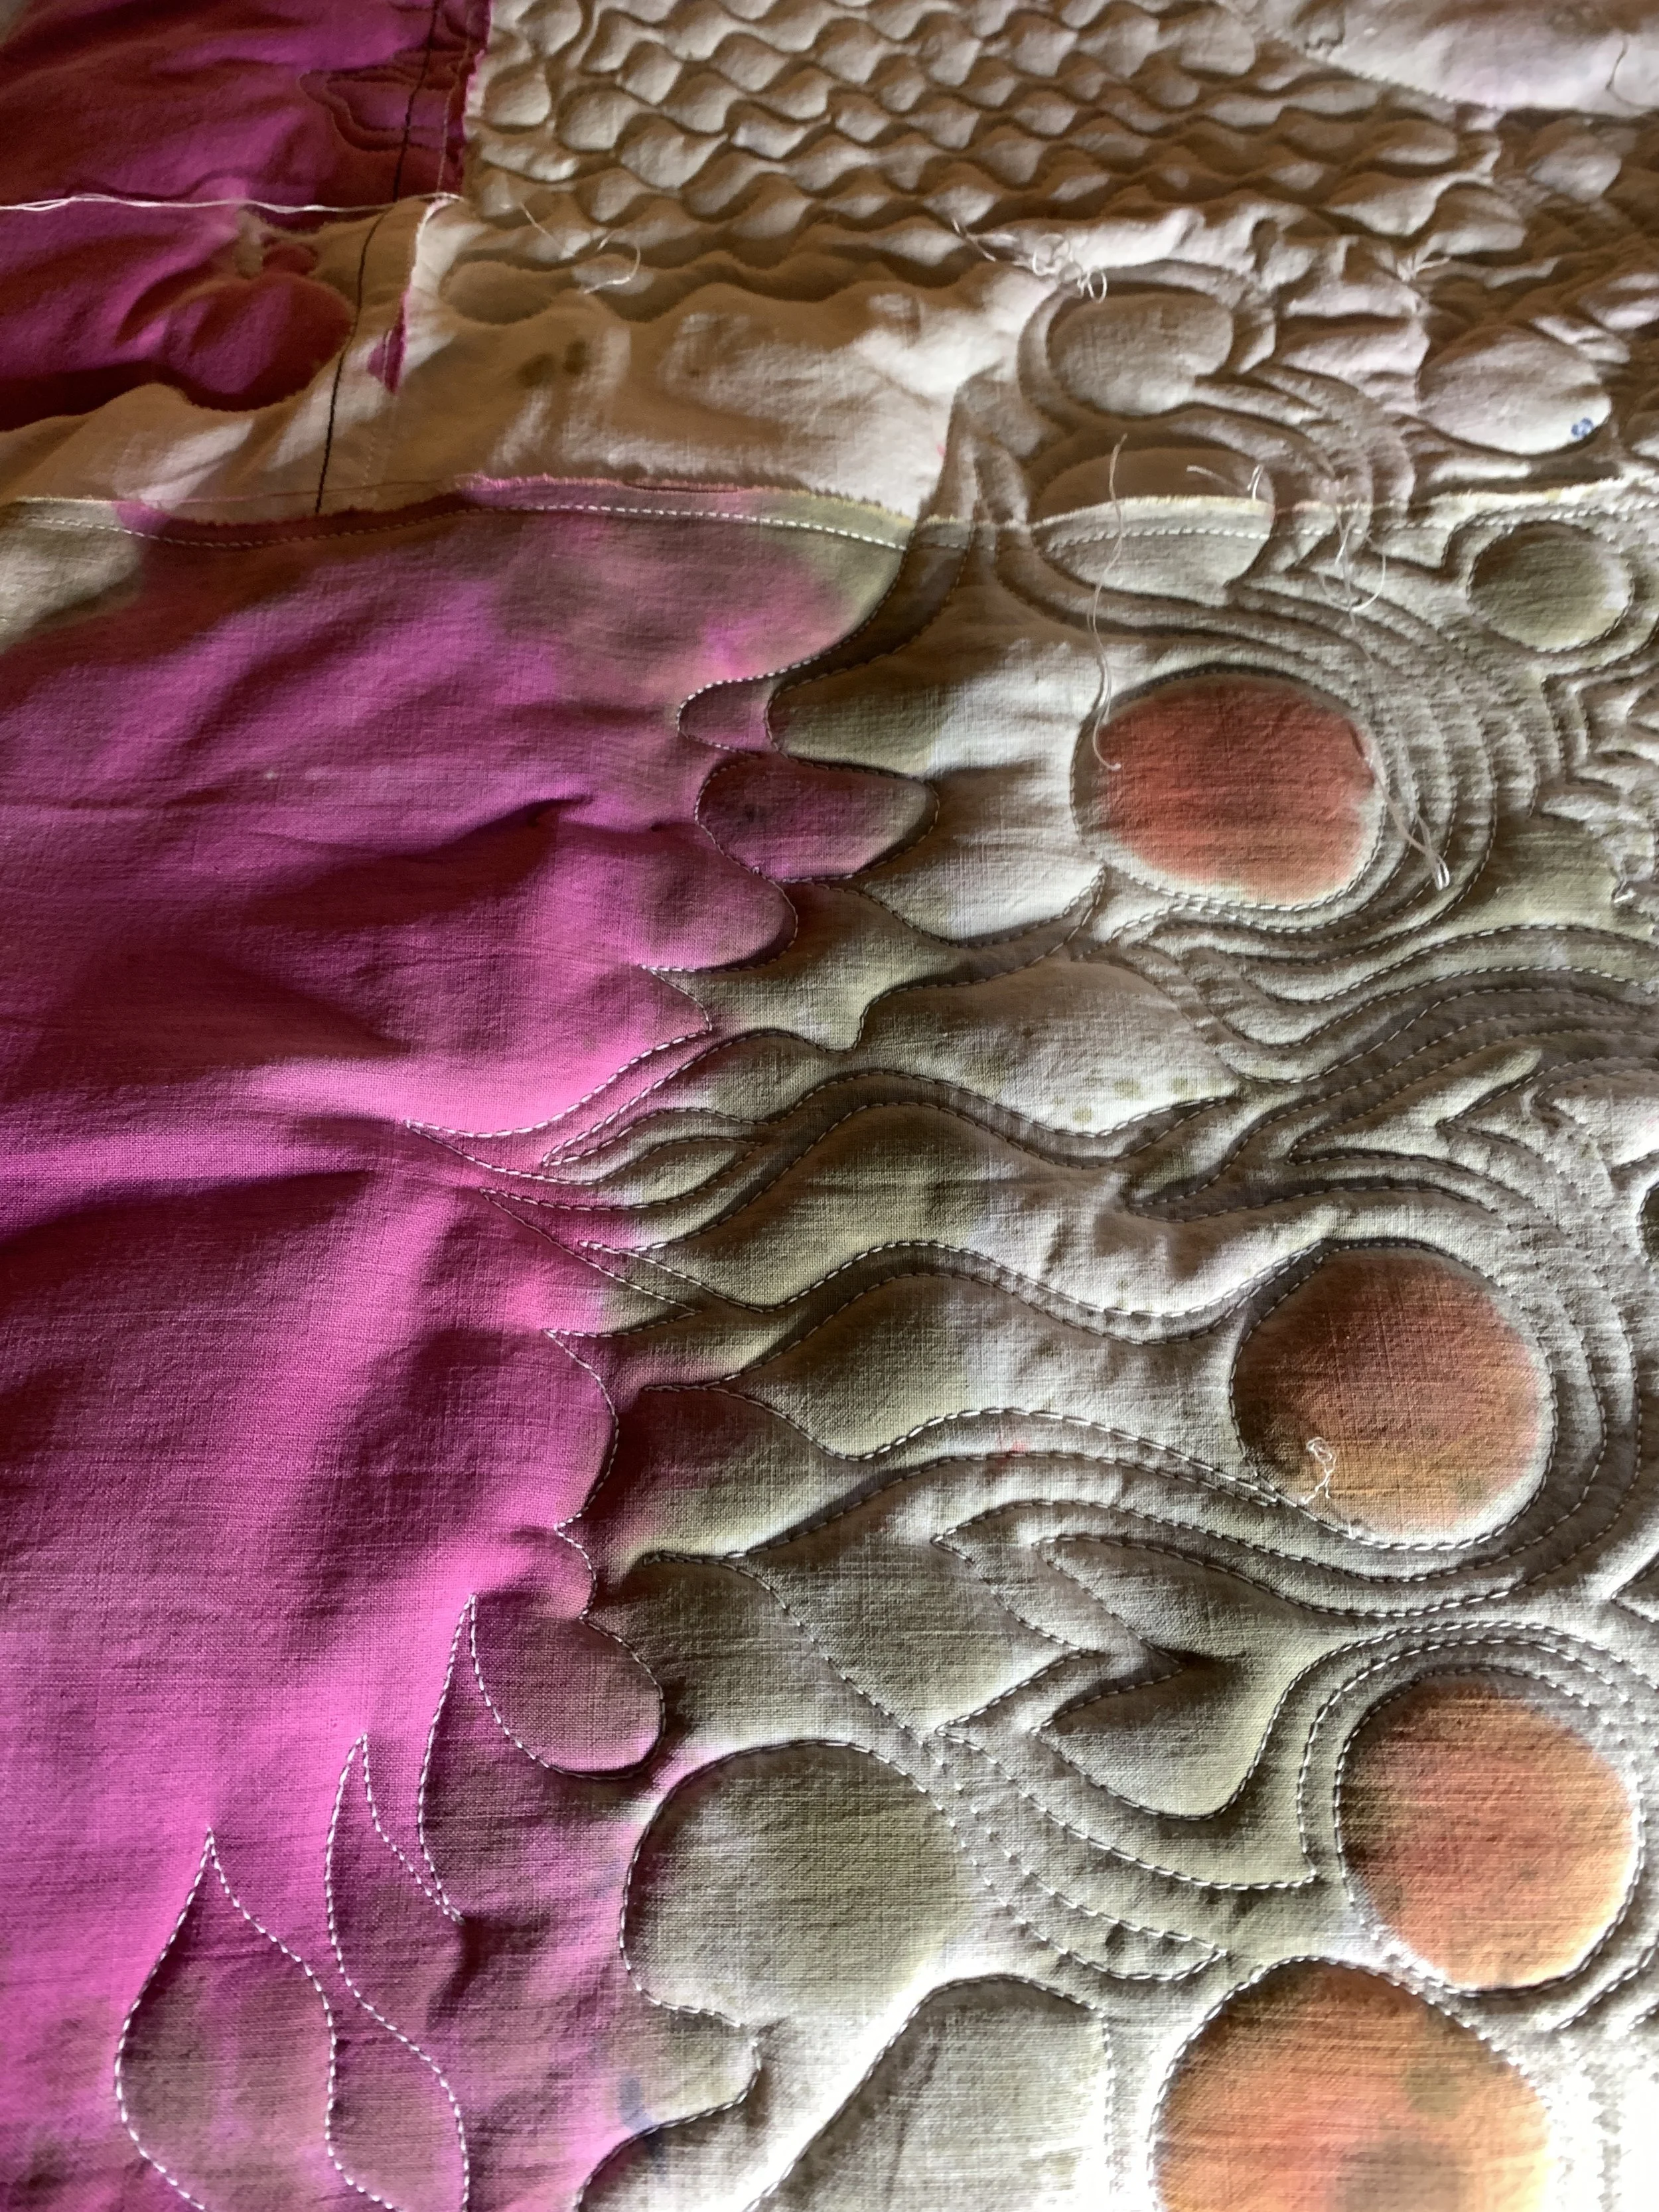
thread nests on the back of the quilt

thread nests on the back of the quilt

Despite dutiful care and feeding of my trusty Bernina I have battled thread nests all week. It started after a service call to "tune up" the machine. Not so tuneful.

I have changed needles, cleaned out lint, twisted, turned and massaged the tension knob, substituted new thread, pulled both ears while twirling counterclockwise on one foot and muttering oaths of loyalty to the Bernina sewing gods -- all to no avail.

Another trip into the service center she goes. Tonight will be devoted to tear out.

Now where, oh where is Mr. Tweezerman?

what a relief

Quilt guild challenge finished.

Gabby, Pediatrics cartoon figure

Gabby, Pediatrics cartoon figure


Meet Gabby. Earlier this year I promised I would contribute to a guild challenge for an exhibit that will be displayed at a local children's hospital. The challenge revolved around a set of cartoon characters the hospital created for their decorative theme. I thought it would be easy. Now, over six months later, the task is done, but not without a bit of sturmunddrang (otherwise known as storm and stress).

I don't do cute well. I am a little skittish about pretty too. So, I thought maybe I could do something that would push my patterning skills a bit. I worked on 10-15 different patterns for a quilt top that would house this guy. A new and different nine patch? A log cabin nest? what about a new way of looking at a mariner's compass pattern? None made my brain fizz with excitement.

Then I decided that maybe it could be a collage. I spent a good 10-12 hours fussy cutting bits of fabric that might fit together to represent and house this bird. No song in my heart for that solution either. Falling back on skills I felt most comfortable with, I thought maybe I could just do a whole cloth version of Gabby in black and white. I spent at least a day or two mapping that one out. It's just a little sad seeing a colorful character like this guy go to the dark side....

The next time I went to guild they were selling a bunch of preprinted cartoon characters that could be appliqued onto a top. I thought.....there's my answer! I immediately bought one of the larger versions of Gabby, totally ignoring the fact that I am not good at applique and I still had to come up with a top. Maybe I could do a reverse applique version? I admit that many of my quilts answer the question "Now...how can I hide that mistake?"

Gabby lingered on the design wall for another month. It got so that every time I looked at him I felt a twinge of insecurity and dread.
Gabbydescription.jpg

When I finally had the nerve to go back to the project (since the deadline is creeping up and the last guild meeting reinforced that sense of commitment I had) I decided to read about Gabby a little more and figure out what I should do. I came across this brief summary of his character.

I decided I liked this guy.

And he needed some camouflage.

I went to my mother's copious stash and found a delightful Asian patterned fabric that complemented his beak. He looked pretty good sitting within the pattern but needed something more. I went to the fabric store and found a (dare I say pretty?) organza with pink flowers scattered over it (have I ever mentioned the fact that pink and I don't really get along very well?). It would work well as a second level of color and camouflage.

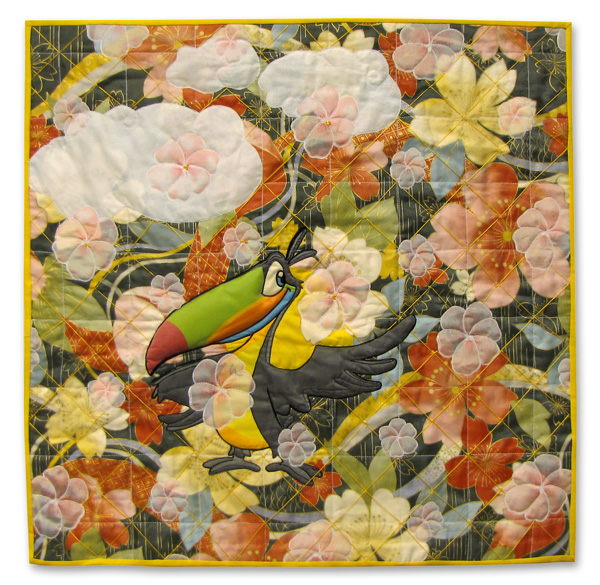
So here is my final solution. He is perched on a flower surrounded by flowers. The transparency of the pink-flowered organza allowed me to add some clouds over his head. I stuffed his goofy beak with some extra padding so that he would stand out in a crowd. And, at the end I added the yellow binding and embroidered the X pattern over the squares in yellow orange floss.

Gabby, a loud and happy guy.

Gabby, a loud and happy guy.


Now I can go back to what I really want to do with a sense of accomplishment, and another thing to write on my hand so that I don't forget: Be careful what you promise, it's not all a bed of flowers.